

In this post you’ll learn how artists (and creators more broadly) can use Pinata to pin artwork on the InterPlanetary File System (IPFS) when minting NFTs.
IPFS, CIDs and Pins
By using IPFS to store files, artists can provide NFT collectors with a method of persisting their art indefinitely. To understand how this works, let’s quickly go over some IPFS concepts.
On IPFS, each file added to the system is identified using a content identifier (CID). Every unique file will have a unique CID. This allows someone to retrieve a particular piece of content by providing the CID of the desired file. When an artist adds a file to IPFS, the system will use the content of that file to create a unique hash; a digital fingerprint of the file.
It’s important to note that IPFS nodes treat stored data like a cache, meaning there is no guarantee the data will continue to be stored unless the CID is pinned. Pinning a CID is a way to tell an IPFS server that this data is important and should be retained long-term. Pinning is like saying, “I’m important. Don’t delete me!”
To ensure important data is not discarded, pinning service providers such as Pinata exist to guarantee that data remains pinned. For artists, this means their NFT collectors are always able to access the original file of the artwork.
Here’s how an artist would accomplish this using OpenSea Storefronts and Pinata’s pinning service.
Pinning Artwork on IPFS
This guide assumes the artist (creator) has already created a Pinata account and their own NFT smart contract accessible on OpenSea Storefronts.
The first step is to log into Pinata and navigate to ‘Pinata Upload.’

On the upload file screen, click ‘Browse’ to locate and select the desired file. In this case, the file is an artwork PNG. Next, choose a custom name for the pin.
Note: custom naming is optional if you wish to name the pin something different than the original file name. Custom names are only for keeping track of things on Pinata. The actual name on IPFS will always be the original file name.
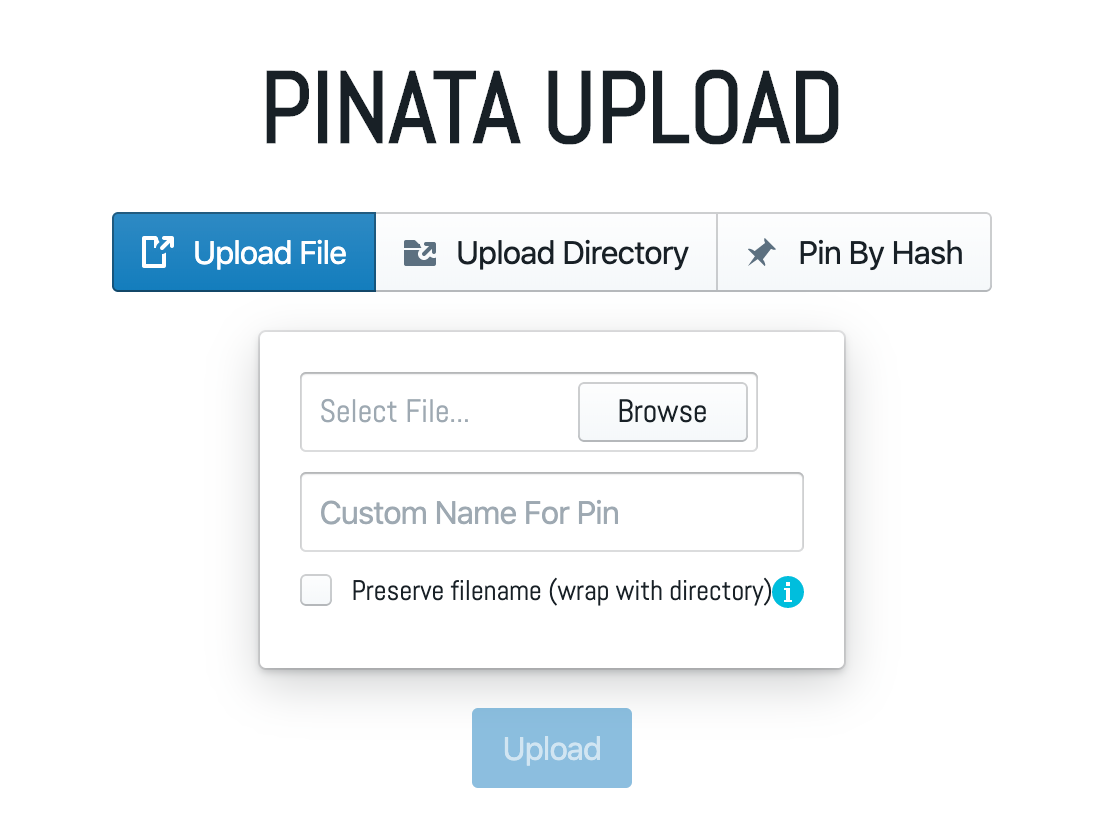
Next, click the ‘Preserve filename (wrap with directory)’ button to maintain the same filename across IPFS. Finally, click ‘Upload’ and wait for the system to confirm. After successfully uploading the file, head over to ‘Pin Explorer.’

The ‘Pin Explorer’ page is where file details are found, including: hashes (CIDs), file sizes and pinning status. In the screenshot below, you’ll notice the green indicator confirming the file is ‘Currently Pinned’ on IPFS.

Clicking on the IPFS Hash will open a new window where the file is stored. If you’ve not selected to ‘Preserve filename (wrap with directory)’ then simply copy this URL and head over to OpenSea Storefronts. If you have selected to ‘Preserve filename (wrap with directory)’ then you’ll need to grab the URL by clicking on the file name from the directory page. Copy it and head over to OpenSea Storefronts.

Minting NFT Art
Once signed into Storefronts Manager, select a store and proceed to create a new item.
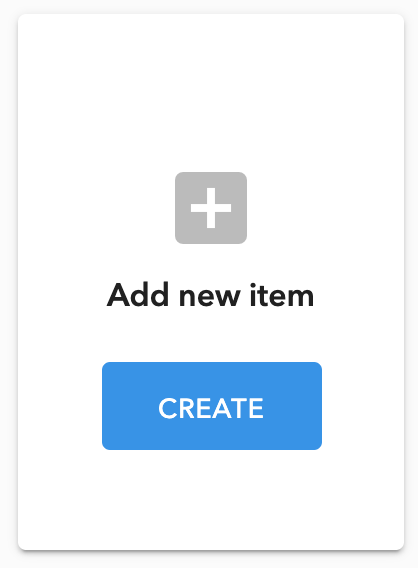
Click ‘Create’ and begin uploading the artwork. Next, fill out the ‘Name’ and ‘Description’ fields with the name of the artwork and the artist statement.
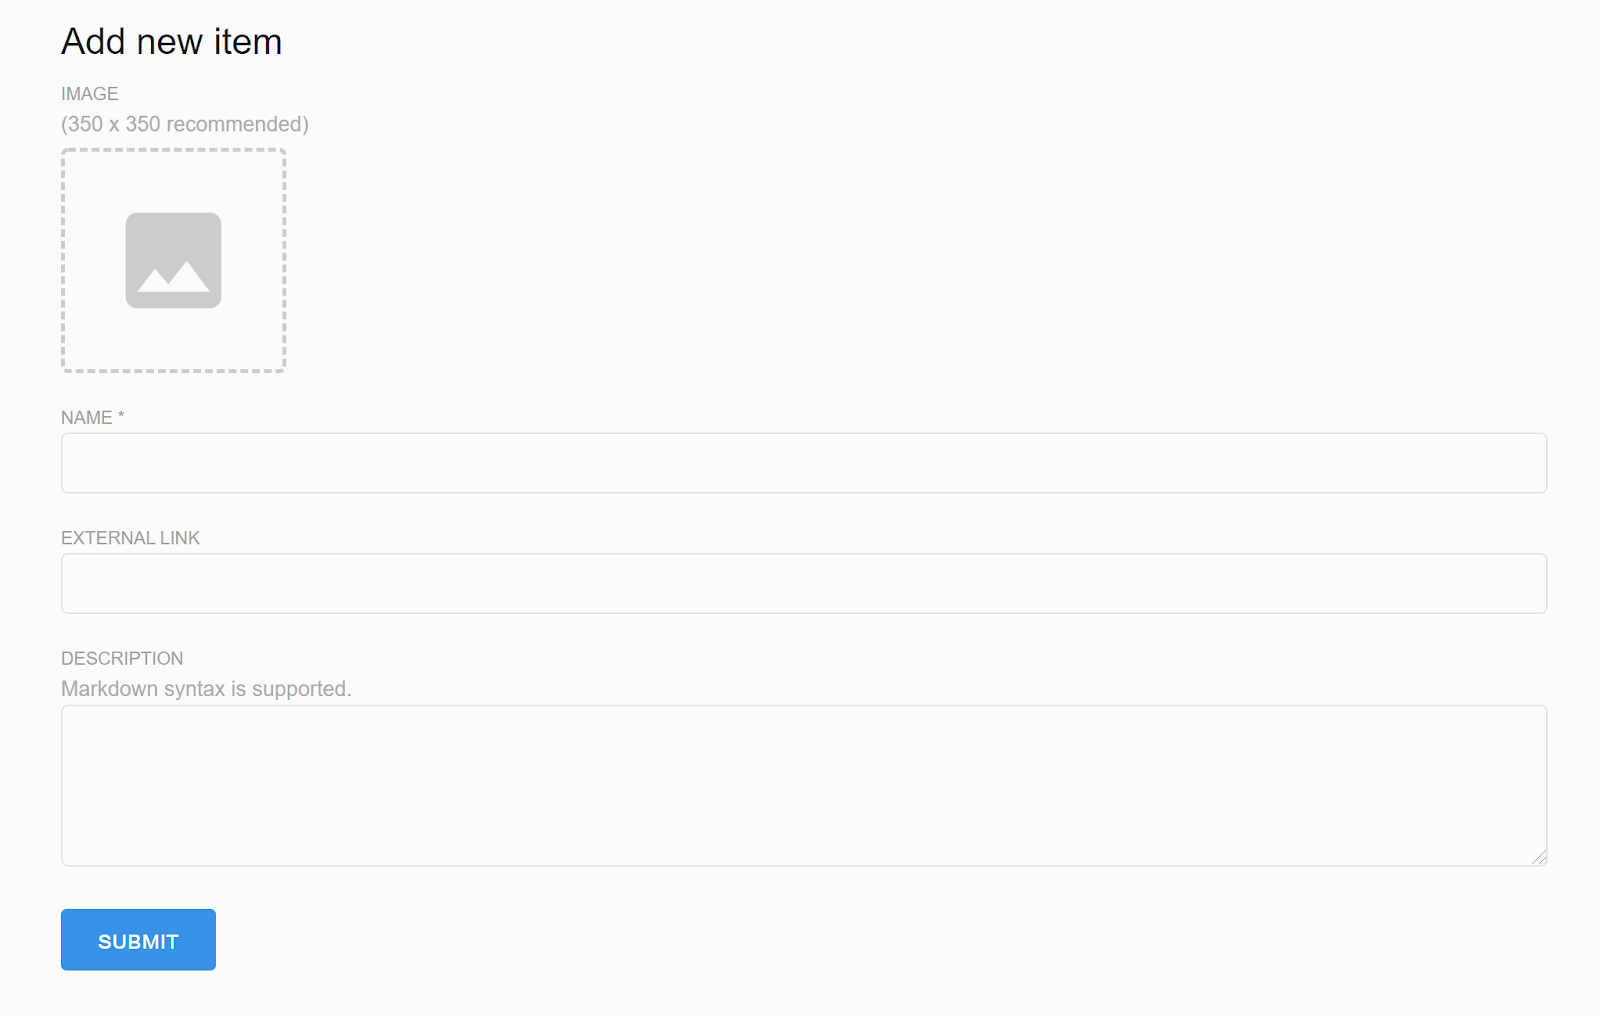
In the ‘External Link’ field, paste the URL that was copied earlier. Adding the URL in this field links the NFT to the corresponding pinned file on IPFS.

Finally, click ‘Submit’ and sign the transaction to mint the NFT. And done!
😀 Congrats, you now know how to pin artwork on IPFS and mint a corresponding NFT. By using this combination of Pinata and OpenSea, artists minting on personal smart contracts can ensure persistence.
Further reading: